Flutter Alignment 属性总结和应用(雪碧图)
一. 需求分析
实现一个等级标识组件

提供的图片是一张水平方向的雪碧图
二. Alignment 属性
这个属性可以让图片的显示位置偏移, 功能类似 css 中的 background-position
调用: Alignment(x, y) , x y 分别表示水平和垂直方向的偏移 , 初始值均为 0
-1 表示图片最左侧 , 1表示图片最右侧
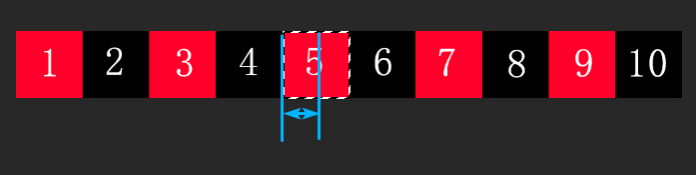
虽然实际上容器是不动的 , 偏移的是图片, 但为了便于理解, 可以认为图片静止, 容器是一个移动的选区 , 确定位置后”抠”出图来显示到界面, 如下图 (虚线框代表容器) :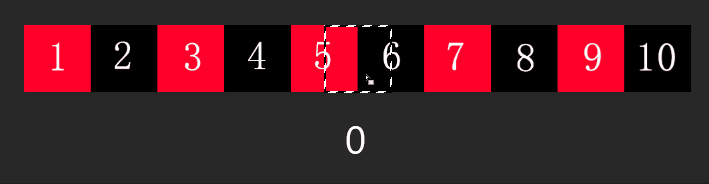
基本用法

先用这张规则的图片做一些尝试
首先设定图片的宽高1
2
3String imageUrl = 'https://static.soyoung.com/sy-pre/2-1569589803824.png';
double width = 400;
double height = 40;
配置 Container 的 decoration 属性 , 用 BoxDecoration 和 DecorationImage 组件实现.
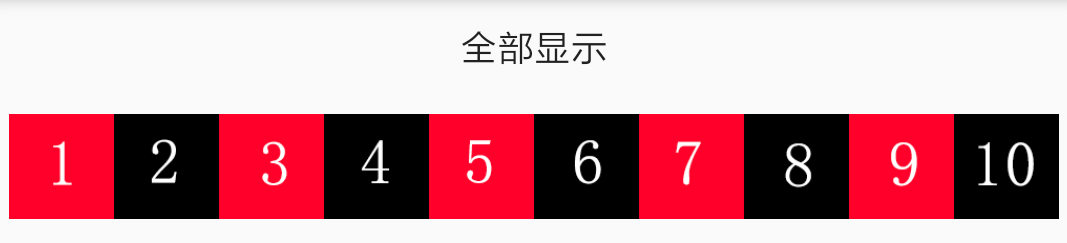
如下代码, 会将图片完全渲染1
2
3
4
5
6
7
8
9Container(
width: width,
height: height,
decoration: new BoxDecoration(
image: DecorationImage(
image: NetworkImage(imageUrl),
fit: BoxFit.fitHeight,
alignment: Alignment(0, 0),
)),
控制宽度1
2
3
4
5
6
7
8
9Container(
width: width * 0.2, // 修改容器宽度即可
height: height,
decoration: new BoxDecoration(
image: DecorationImage(
image: NetworkImage(imageUrl),
fit: BoxFit.fitHeight,
alignment: Alignment(0, 0)),
)),
1 | Container( |
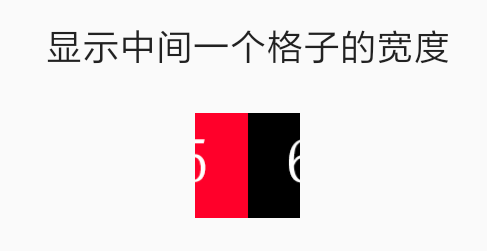
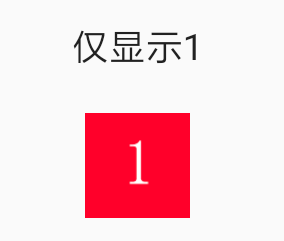
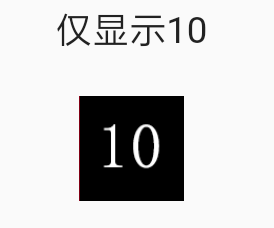
增加简单的偏移1
2
3
4
5
6
7
8
9Container(
width: width * 0.1,
height: height,
decoration: new BoxDecoration(
image: DecorationImage(
image: NetworkImage(imageUrl),
fit: BoxFit.fitHeight,
alignment: Alignment(-1, 0)), // (1, 0) 即可仅显示10
)),
以上是简单的偏移, 这仅能控制左右对齐 , 想偏移到更多的位置, 就需要增加一点计算:
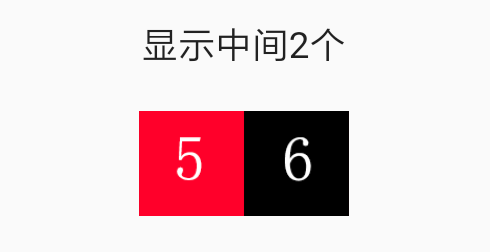
显示5和6的位置1
2
3
4
5
6
7
8
9
10
11
12
13
14
15
16
17
18
19
20
21
22// 5
Container(
width: width * 0.1,
height: height,
decoration: new BoxDecoration(
image: DecorationImage(
image: NetworkImage(imageUrl),
fit: BoxFit.fitHeight,
alignment:
Alignment( 0.05/0.45, 0)),
)),
// 6
Container(
width: width * 0.1,
height: height,
decoration: new BoxDecoration(
image: DecorationImage(
image: NetworkImage(imageUrl),
fit: BoxFit.fitHeight,
alignment:
Alignment(-0.05/0.45, 0)),
)),
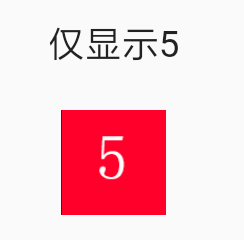
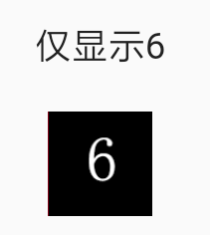
此时传给 Alignment 的 x 值 , 是十分诡异的 ±0.05/0.45 ≈ ±0.111111
为什么这样算呢? x 值的获取可以总结为一个公式:
x = d1/d2
d1 = 初始状态时图片左边界到容器左边界的距离
d2 = 目标状态时图片的偏移量
初始状态 (未偏移时, 选框居中) 如下图 , d1 = width * 0.45
目标状态 , 选框 (相对上图中的选框) 从中心往左移动了半个格, 则 d2 = width * -0.05
同理 , 若要展示2 , d2 为 width * -0.35 , x = -0.35/0.45 ≈ -0.777777777777778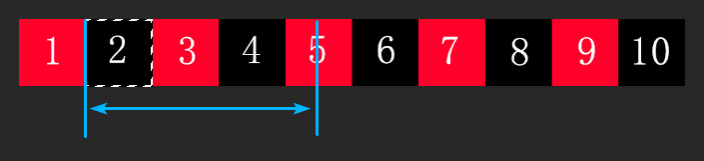
同理, 若要展示8, d2 为 width * 0.25 , x = 0.25/0.45 ≈ 0.555555555555556
三. 实际应用
回到等级标识的问题 , 现在可以封装一个方法计算每个 level 的偏移量1
2
3
4
5
6
7
8
9
10
11
12
13
14
15
16
17
18
19
20
21
22
23
24
25// 考虑到不同等级的图片宽度是不同的, 还需要提供每个等级图片的宽度
List<double> itemWidthList = [60, 60, 60, 60, 60, 60, 62, 62, 62, 62, 66, 70, 70, 70, 70, 70, 70, 70, 70, 70, 70]; // 横向雪碧图中每个小图的宽度
Map getLevelStyle(int level) {
double totalWidth = 0; // 图片总宽度
double positionX = 0; // 图片左边的位置
double width; // 当前等级图片的宽度
int i;
// 循环计算出 整个图片的宽度 和 需要的图片所在位置
for (i = 0; i < itemWidthList.length; i++) {
if (i < level) positionX += itemWidthList[i];
if (i == level) width = itemWidthList[i];
totalWidth += itemWidthList[i];
}
// 初始状态(图片和容器中心点重合) 图片左边界到容器左边界的距离, 即 d2
double zeroPosition = totalWidth/2 - width / 2;
// 目标状态时, 图片的偏移量, 即 d1
double distanceToCenter = positionX - zeroPosition;
// x = d1/d2
double alignmentX = (distanceToCenter / zeroPosition);
print('level $level, $positionX, $distanceToCenter, $alignmentX, $totalWidth');
return {
"x": alignmentX,
"width": width
};
}